Category Archives: Recipies tried and true

Apple Pie Bread (ala mode)

Standard

Indgredients

1/3 cup butter, softened

1 egg (beaten)

1 cup sugar

1 cup regular or chunky applesause

In another bowl … combine

1 1/2 cups all-purpose flour

3/4 teaspoon baking soda

3/4 teaspoon ground cinnamon

1/2 teaspoon baking powder

1/2 teaspoon salt

1/2 teaspoon ground nutmeg

1/8 teaspoon ground cloves

1/2 cup chopped walnuts (not too small)

1 can apple pie filling

In a large bowl, cream butter and sugar. Add the egg and applesauce, mix well

Combine the flour, baking soday, cinnamon, baking powder, salt, nutmeg and cloves.

Stir into creamed mixture.

Add in 1/2 cup + chopped, (not too small) mainly canned apple pie filling apples with a little bit of the goo (lol), add walnuts and stir with a wooden spoon or spatula until mixed in evenly.

I use 3 mini loaf pans, sprayed and with a custom cut piece of parchment paper on the bottom.

filled evenly.

Bake at 350° for 30 minutes until browned nicely. You can’t use a toothpick to check because of the apples.

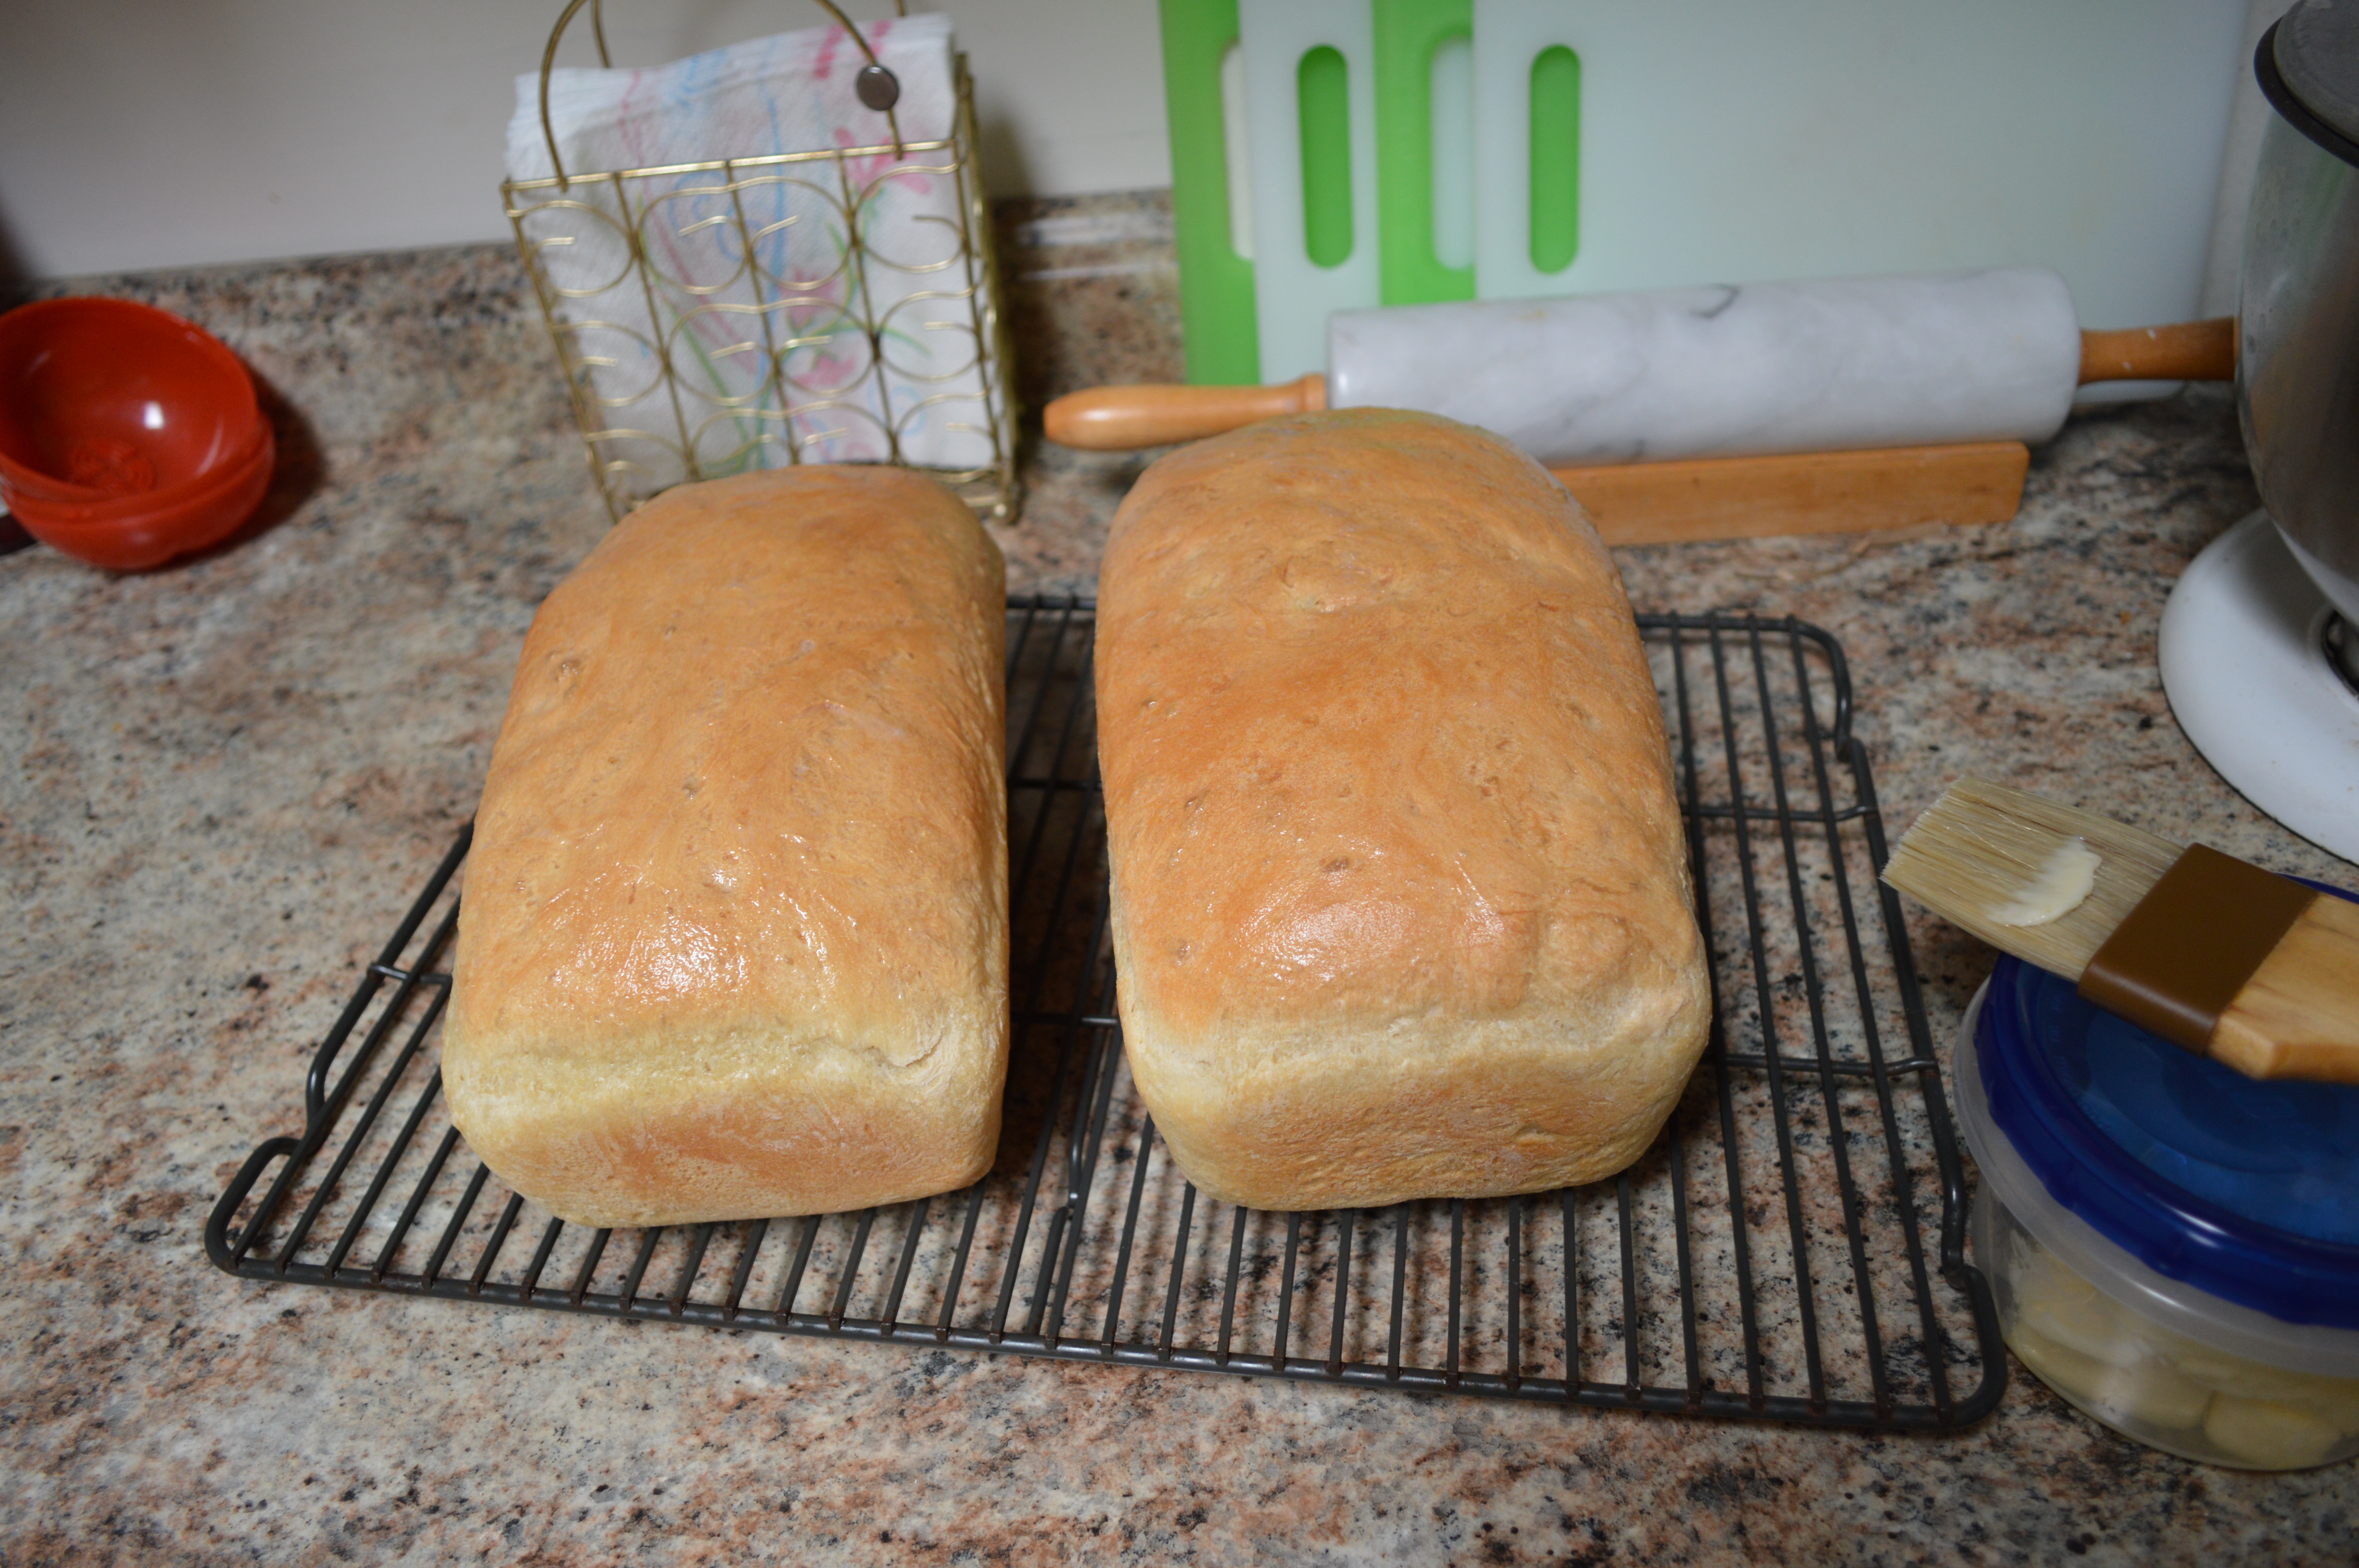
I put them on a rack for 10 minutes to cool. Tip out onto the rack and let cool right side up.

Enjoy with butter, with whipped cream, or plain.

Added fun! Put two slices in the bottom of a bowl anytime. Nuke to hot and then add a scoop of ice cream!

Tell me what you think and I’ll put it in “Remarks”!

Advertisement

Ron’s World Famous Hockey Puck Brownies

Image

Ron’s World Famous Hockey Puck Brownies


Preheat oven to 325 degrees (depending on your oven strength)

One pouch of Ghirardelli Triple Chocolate mix.

1/3 cup water

1/3 cup vegetable oil

1 egg

Mix with a strong whip or spoon.

Spoon evenly in 12 cup silicone muffin pan on cookie cooling rack for support. That way when you take them out of the oven, they are already on a cooling rack

Mine are the shallow ones. With the full cups, fill 2/3 full.

The recipe calls for 35 to 40 minutes and with the silicone pan

does use that much time. Begin to test with a toothpick at around 30 minutes until you establish the baking time in your oven.

When done, slide the silicone pan on to a cookie rack to cool completely.

Remove each puck when you feel that the chocolate chunks inside have set up a bit.

Enjoy! Each puck will be as chewy as the corner piece from a cake pan if it’s baked just right. rdd

Of course you can use your favorite chewy brownie mix. If you do, adjustments may have to be made in bake time. Sneak up on the finish! rdd


Ron’s World Famous Emergency Holee Guacamole Morning Toast on Sourdough

Image

Ron’s World Famous Emergency Holie Guacamole Morning Toast on Sourdough


One Jalapeno gutted and chopped ( I wear plastic gloves because I get the essence in my eyes, up my nose, and on my lips)
One Lime well squeezed
One nice size Roma tomato, gutted and chopped
Some chopped Cilantro to taste (1/2 cup)
A couple cloves of Garlic finely chopped
Green pimento Olives 1/3 cup chopped into 1/8ths.
Your choice of chopped onion but purple works well.
Fresh ground mill pepper. A touch of your salt style.
A good Bear squirt of honey.
Three fair sized, just soft, avocados, your choice (not too ripe)

Don’t fine chop anything except the garlic
De-nut the avocado and scoop the meat into a mixing bowl with a flat bottom so you can crush the avocados with a manual potato smasher. (I have a vintage Cutco smasher with the square holes … perfect! Don’t mush it all into paste so don’t over crush, leave some pea size chunks.

Now, toast your best local ‘real’ sourdough like Goldminer Cracked Wheat Sourdough, until it’s crisp but not burnt. So I toast one end and then flip it end for end in the toaster and let the heat dry it out for a minute and then toast that half until just the way I like it. Crunchy!
Butter and add a thin drizzle of raw honey on the toast.
Slather this breakfast guacamole on each half, slice in two and enjoy with your coffee or whatever.

Now Guacamole tends to oxidize a bit. Don’t worry about it. Mix it up.
By the second day of marriage in the refrigerator, I tablespoon enough breakfast Guac into those smallest 4oz. glass condiment containers from Ball, date them and freeze these servings for the rest of your week.
I nuke them for 25 seconds and then 12 to thaw them while the toast is toasting. All gets done about the same time.
When I get down to three left in the freezer, I make a fresh batch, use that for two days, freeze that and use the earliest dated ones first.
It’s actually good for you!!! LOL … Try it and let me know what you think.

My World Famous Flakiest Pie Dough

Image

My pie pastry with lemon
(if you get this right, I promise the flakiest dough you’ve ever made)

3 cups of flour
1 1/2 tbsp. of sugar
1 1/2 tsp of salt
1 1/8 cups of shortening
2 small eggs separated
1 1/2 tbsp. of lemon juice
3/8 cup of milk

Combine dry ingredients
Cut in the shortening
Combine the egg yolk, lemon juice, and milk
Stir into the dry ingredients with a fork to make a soft dough just enough stirring to make a ball.
Roll out the pastry between two sheets of waxed paper
as needed for bottom and top
Flute the edges and brush on the spoon whipped egg white
and sprinkle with cinnamon and sugar.
Don’t forget to slice in some steam release holes in the top crust for apple or cherry pie.

Ham and Pimento Olive Sammich

Standard

My newest favorite sammich. I don’t know if samich is spelled with one m or two, but it looks better with two. Both are now accepted in my dictionary in the computer.
Are you ready?
Two slices of your favorite rye bread including pumpernickel.
Two or more slices of sammich ham. I’m using slices of Costco sammich ham.
Some Tostidos brand cheese spread at whatever heat rating you like. I use medium (gringo)
6 to 12 chopped pimento stuffed olives roughly chopped. I used 9 today.
Miracle Whip.
You can make variations like toasting the bread etc.
So spread a thin layer of Miracle Whip on both slices.
Then the amount of cheese spread on one slice as thick as you can handle without making it drip I suppose.
Add the ham in whatever artful fashion you desire.
Add the chopped olives to the cheese spread side of the bread.
Slice the bread on the bias. Place it on the plate with your favorite chips or cold salad like my macaroni salad.
Take your noon medications.
Then enjoy! rdd


Ron’s World Famous Homemade Vanilla Greek Yogurt Pudding

Standard

Ron’s World Famous Homemade Vanilla Greek Yogurt

Here’s the short of it: Heat the milk, cool the milk, add the culture, place the bowl on a bath towel when mixture is 120°, leave it alone for 8 hours. Strain it through a thread bare dish towel. Add you favorite instant pudding. etc. I whip mine up in about 30 minutes including the heating and cooling. My cost on a big quart About $2.

Now: the long of it line by line:

 I seriously have been creating this yogurt for over two years now. I’ve got it down to an art, so follow my instructions line by line and you should have created something that you will make for the rest of your life. Follow me! It’s really easy.

Ingredients:

1 ½ qts Milk (I use whole milk or whatever is about to expire, but you can get by with 2%, and sometimes a mixture)

½ cup of your favorite Greek yogurt (or whatever you’ve got on hand. Any culture brand or consistency will work. I also always seem to have Oikos Greek fat free Vanilla on hand.

Additional ¼ cup milk

½ cup powdered milk (cheapest brand you can find)

½ cup stevia ( I use Stevia In the Raw powder, but have used ‘house brands’)

1 $.59 package of Vanilla (or other) instant pudding (Sugar free is ok. House brand ok)

One bath towel, one thread bare flour sack dish towel, and a colander

The Culture:

In a 2 quart ceramic microwavable bowl, pour in the 1 ½ quarts of milk. You don’t have to be precise. Microwave it to 180° or slightly above. My 1200 watt Panasonic does it in 12 minutes. Carry the hot bowl and set it in the bottom of an empty, plugged sink. Add cool water to the sink and insert your digital thermometer. Cool until the milk reaches 130° or less.

While the milk is heating and cooling, in a small bowl, mix the yogurt, ½ cup milk, Stevia, and powdered milk into a thick gruel. When the milk cools to 130°, move it out of the sink on to the counter, add the gruel and gently stir. (do not over stir and create foam, be gentle)

Place the bowl on the doubled over bath towel, cover the bowl with plastic wrap (to keep the towel out of the mixture), punch a couple of small holes in it and fold the towel over the bowl.

Set your digital timer for 8 hours, set it on top of the towel and walk away! Eight hours later, open the towel, remove the plastic wrap (save) and empty the yogurt onto the flour sack dish towel lining the colander. Quickly set the colander on top of the bowl, cover the yogurt in the colander with the plastic wrap again, and fold the left over dish towel over the top of the plastic wrap so the yogurt liquor does not wick into the towel and get all over the refrigerator.  Let set in the refrigerator all afternoon or overnight if it’s late.

The next morning, you will have Greek yogurt and the liquor (whey) will be in the bowl.

Now carefully empty the Greeked yogurt back into the emptied bowl. (You can re-incorporate some of the whey if you think it wept too much, you’ll learn) It depends on how long you let it weep.

Now, empty the package of Vanilla pudding on top of the slightly wet Greek yogurt (the pudding is going to add flavor, but yes, will need something to thicken, therefore judge the yogurt lest it be too dry. (Pour some whey back in if you have too). Quickly mix in the pudding with a whisk, immersion blender or mixer. I usually work in a few bubbles now to lighten it up.

Pour into a covered container and let cool in the refrigerator. Yes you can taste it, but it will taste better once it’s set, and the pudding powder has time to dissolve.

Later, spoon some into a desert bowl (for me a cereal bowl) throw in a fist full of French Vanilla and Almond granola, and mix. Now, slice ½ a banana on top, give it a swirl of ‘Red Can’ whipped topping and enjoy. You are going to be pleased with what you’ve created, and your total cost for this decadent dessert is going to be a little yogurt, 1 ½ qts of milk, a handful of this and a little bit of that and mmmmmmmmmmmmmm.

Now remember! This is another one of those things that I make that can be breakfast or last minute supper before you go to bed, totally healthy, and it tastes like banana cream pie without the crust.

You can use other toppings of course, whatever is in season (strawberries, mmmmmm), or really do it up with chocolate syrup, whipped cream, sprinkles, or mini chocolate pieces, or shavings. I’ve done it all, and have never been disappointed. NEVER!

I’ve done this so many times; my total time investment is may be 20 minutes.

Cost + time vs. pleasure  Ha! You tell me!

Ron’s World Famous Whole Wheat, Apple Fritter Waffles

Standard

Ron’s World Famous Emergency Whole Wheat, Greek Yogurt Apple Fritter Waffles

by Ron Drobeck

Put all of these ingredients in you mixer (or use a bowl and a blender)

2 eggs

1 cup of milk (any strength)

¾ cup apple juice

½ cup plain Greek yogurt (or whatever you’ve got on hand)

1 tbsp.  real Maple syrup

2 cups whole wheat flour

1 tbsp. + 2 tsp. baking powder

2 tsp. cinnamon

¼ tsp. salt

Mix

Stir in 2 apples worth of cut up raw apple about the size of a waffle indent

(use raw Granny Smith apples, or sauté any apple with your favorite pie spices)

Pour one cup+ and spread in your preheated waffle maker. (depends on size of maker)

Cook for at least 4 minutes. (for extra crispy, longer)

I freeze these so when I have the urge to go to the grocery store to buy anything on my

Shopping list so I can buy myself a fritter or a couple of $.59 doughnuts, I can go to the

freezer,  grab a couple of sections, microwave for a moment, pop them in the toaster,

and top with butter and cinnamon, honey, maple syrup, or anything to kill the trip and the expensive

calories.

PS, I’ll soon have an unsweetened white frosting in a squirt bottle. rdd

Ron’s World Famous Hot Oatmeal/Granola Breakfast

Standard

Ron’s World Famous Hot Oatmeal/Granola Breakfast


I know most of you already know how to make hot oatmeal for breakfast. I’ve been doing it since I was a kid.

Over time, I’ve developed my own superfast method for getting it out of the box and into my mouth as quickly as possible.  Try my way once, and then of course, go back to your own way. I don’t think you will.

First of all, I keep a salt shaker of pure cinnamon close to the stove. It’s right next to the un-refined Sonoran Desert Honey in a squirt bottle, and the olive oil in an oil dispenser.

I have an inexpensive non-stick pan with a glass lid as my oatmeal pot along with a wooden spoon. (just a bit old fashioned) I have, on the occasion some other cook in the house used my OATMEAL POT, used a non-stick frying pan that has a lid.

First, 1+ cup of water (you’ll learn what you require)

Add one cup of quick oats

Shake in a little salt, quite a few shakes of cinnamon to taste (I like a lot)

Add an eyeful (maybe 3 heaping tbls.) of your favorite granola de jour.

Last week at the ‘Sprouts’ farmers market, they had Almond/macaroon on sale for 2.99/lb., so that’s what I’m using this week. My other favorite is Vanilla/Pecan. I keep it in a cashew container nearby.

Now cover, stir, put it on the burner and heat until it is gently boiling, plop, plop, plop, stir.

Move it off the burner still covered. While it’s steeping, go get a wide shallow cereal bowl, some whole milk (it doesn’t look anemic and tastes like cream), and pause a bit.

When you can’t stand to wait anymore, empty the oatmeal/granola into your bowl, and squirt a thin band of honey criss cross on the top (it doesn’t take much).

Now, this is important!

Poor the milk carefully around the edge of the hot cereal until it covers the whole top without disturbing the cereal.

Use your favorite breakfast spoon, and dip toward you so that you get cereal and milk up against the cereal bowl. Rotate the bowl as you spiral your way through to the last spoonful.  Occasionally, you may run a little short of milk, and it’s ok to add a tad more to complete the balance properly.

Enjoy, and tell everyone how wonderful it is! rdd


Ron’s World Famous Cheese Spread

Standard

Ron’s World Famous Cheese Spread

1 lb. processed cheese (Velveeta) cut into small pieces
1 can evaporated milk (13 oz.)
4 Tbsp margarine or butter
1 tsp salt
Dash of hot sauce to taste
1 tsp dry mustard
1/2 cup chopped pimento and olive (add to your taste)
I purchase the jars of already chopped olives with pimento
An alternative is finely chopped chilis from a jar.

I make 1/2 of this recipe at a time to keep it fresh.

All of the added ingredients may be added short, and brought up to your taste!

I like a little extra hot sauce!

Melt it all together in a double boiler so as not to
burn it, stirring until it is creamy. Do not simmer.
Let it cool enough to transfer to a jar or container.

Spread it on pumpernickel or your favorite cracker, or
on a hamburger off the grill or hot burrito.

Oh my! mmmmmmmmmmm Enjoy


Ron’s World Famous Crusty Honey Bread Recipe (modified 9/8/16)

Standard

Bread made with honey has a slightly nutty flavor that cannot be found in bread made with sugar. This bread is easy for beginners and experienced bakers alike!

Here is what you need:                                                                                                                                DSC_0002

One large mixing bowl, I use the big yellow Tupperware one with the cover.

2 tsp. of granular yeast, I use Red Star Quick Rise

1  tbsp. of Kosher salt or salt

1 beaten egg

2 tbsp. olive oil

2 tbsp. of Honey (I don’t really measure, I think I use a little more! Ha!)

3 Cups of 100° water (I mix the egg, olive oil, and honey with water to make 1 1/2 cups, add that to the flour and then add another 1 1/2 of water ( I use a two cup glass measuring cup)

6 1/2+Cups of Unbleached bread or unbleached regular flour (regular bread flour will work)

Start with the 6 1/2 cups and add to that flour what you need to make a soft ball for first proofing.

That’s it! Beginners follow these instructions line by line.

Mix the flour, salt and yeast in the mixing bowl.

Add the egg, olive oil, honey, and water until everything is damp and in a ball.

I use my hand mixer for the first 5 cups. (I mix by hand sometimes for airier dough. The dough should pull away from the sides when it’s ready. You can use your hands or a strong stirring right at the end or for the whole mixing. Rub a little olive oil or veg. oil. butter on the flour ball and cover until it has doubled in size. (I use my toaster oven as a proofing oven! I use 100°, yours might be more or less)

Knead for 1 minute in the bowl. Less is ok. Add a little flour if it’s too sticky. It should be a fairly firm dough.

Divide into two halves and let rest for 10 minutes then gently place in an ever so lightly greased loaf pan. (I use Pam) Cover and let rise until it domes over the top of the pan edge 1/2″. (again I using my counter top oven as a proofing oven, but it will all rise on your counter with a little more time)

Before you put them in the oven, my new trick is to make a scoring slice across the risen bread with a sharp razor blade. You’ll see the pressure come off the top immediately! When baking, the steam will come off of that top and allow it to rise just right!!!

Bake at 350° for 34 minutes   Remove the loaves from the pans and place them on cooling a rack.

Slice as soon as you can’t stand it anymore Do not overdose! Experiment to find your threshold. LOLOLOLOL

PS Of course, you will have to get the feel for little changes for your talent, location, size of egg, etc. This is common, be brave. rdd